Setting the Call Schedule
- 19 Jan 2023
- 2 Minutes to read
- Contributors


- Print
- DarkLight
- PDF
Setting the Call Schedule
- Updated on 19 Jan 2023
- 2 Minutes to read
- Contributors
- Print
- DarkLight
- PDF
Article summary
Did you find this summary helpful?
Thank you for your feedback!
Go to the Schedules tab on the progress navigation bar to set the parameters for your call schedule, such as date and time, phone list to be used, and caller ID.

A program can have multiple schedules, allowing you to dial the same program over different nights, for example. Each schedule will have its own list(s) and results reports. However, the system allows you to create and visualize combined results reports with data collected from all schedules within a program.
During this step you will also be assigning a SHAKEN/STIR brand to the program. Brands are used to identify the organization making the calls. Click here to access our step-by-step guide for creating Brands in echo19. This is a legal requirement. All automated calls must have a registered and approved Brand associated with it to be allowed to run through echo19.
Important!
Please note that the system does not automatically deduplicate records that may exist among the lists used for the different schedules within a program.
Dial Settings

There are a number of settings that you will need to define as you program the schedule:
- SHAKEN/STIR Brand profile: select the Brand to be used to identify this program.
- Caller ID: Use the system’s phone number provisioning feature to** Acquire a New Number**. You will have the option to choose an area code for local numbers, or a Toll free number that contains certain digits. It is possible to bring your own caller ID, but the number needs to be activated (attested for SHAKEN/STIR) through our vendor's system. This process has a set up fee and requires coordination with the involved parties.

Dial Rate Type: Use Full Scheduled Time or Live Connects Per Hour.
Redials: Redial up to two times during the same schedule and choose which scenarios require a redial.
Select the list(s) that you uploaded that you want to dial. You can select more than one list and the system will delete duplicate numbers, if any. If you uploaded a Suppression List and you want to scrub those numbers out, you should select it during this step.
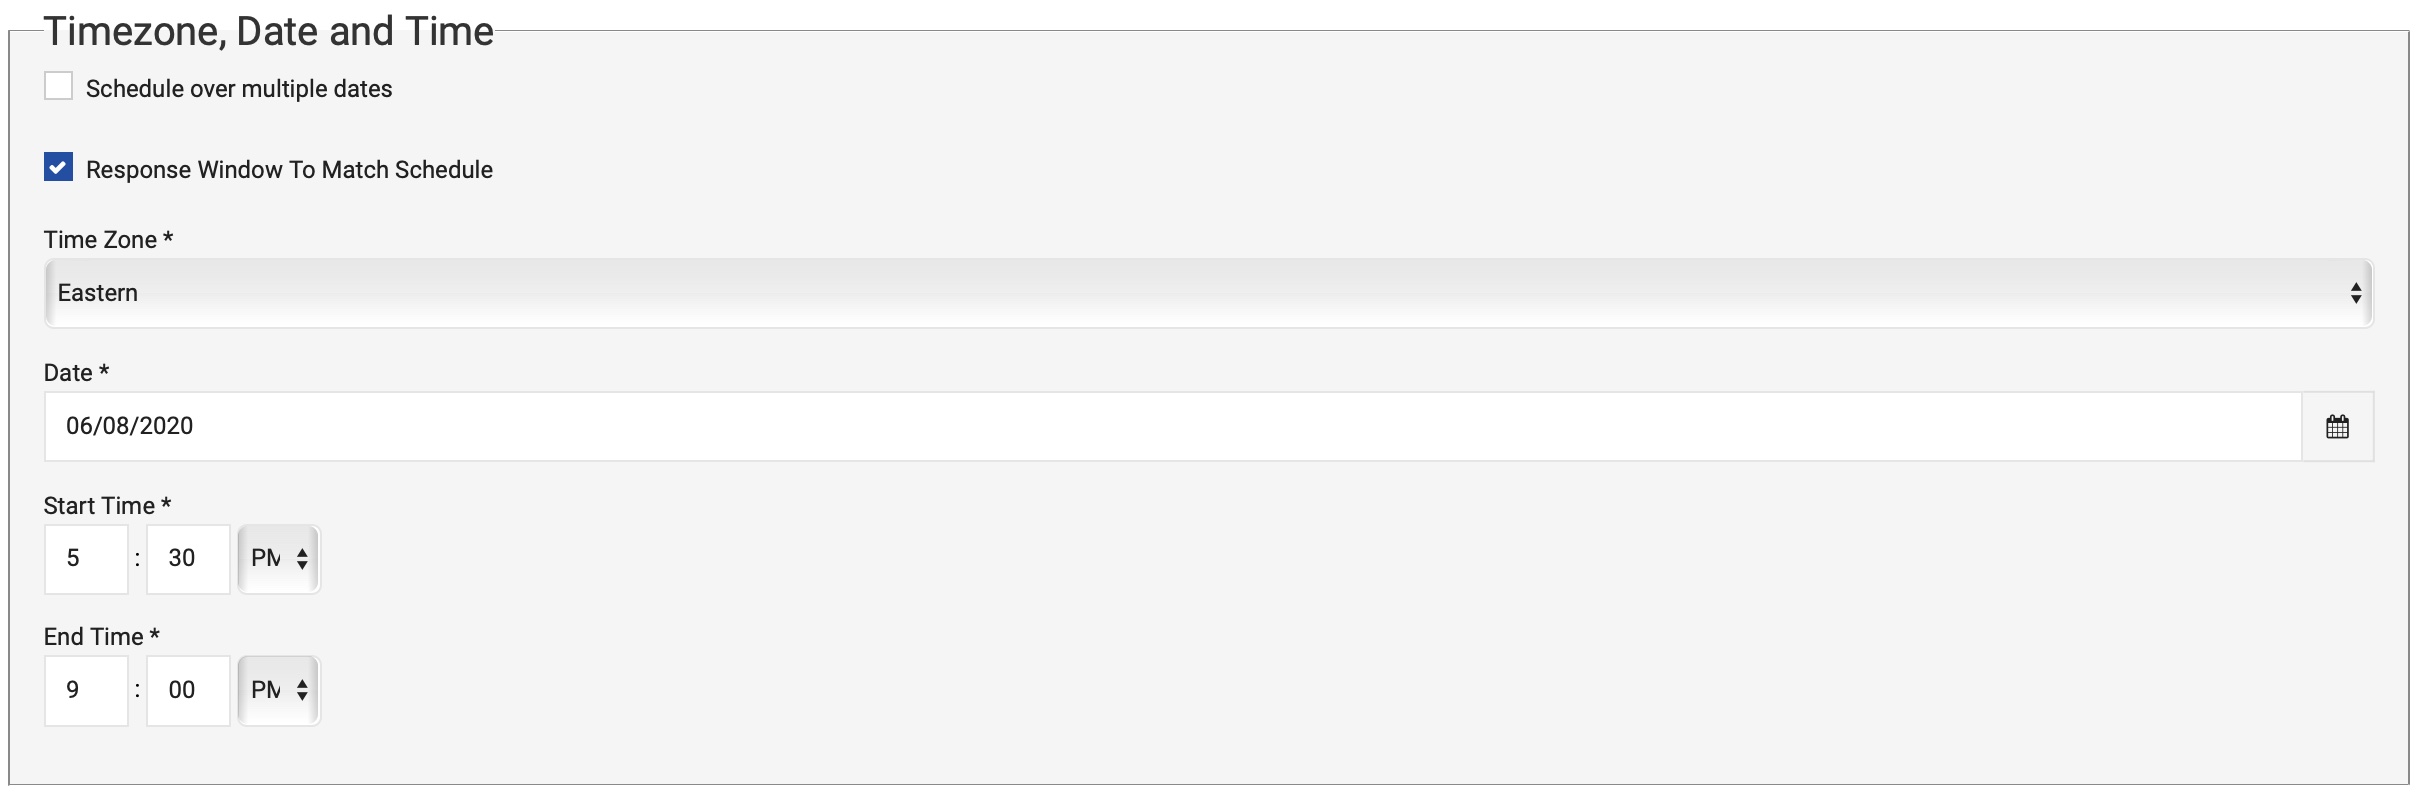
Select the Time Zone, Date, Start Time, and End Time.
You have the option to set specific thresholds that will stop dialing once a certain number of live connections or answering machine detections (or both) are made, or when a certain number of answers to a question have been received.
Save your settings by clicking on Create Schedule. Your call will be scheduled to launch at the date and time you chose.

Note
Once a schedule has been created, the call settings can’t be changed (recordings, call behavior, questions, etc). If you need to change any of these settings you’ll have to delete the schedule and create a new one once you’ve made your changes.
Once the schedule is submitted, it will appear listed on a table at the Schedules page. Each schedule will have a series of available Actions:

Schedule Settings
- Review Settings. Check the schedule settings.
- Modify. Use this button to modify any of the schedule settings.
- Delete. Use this button to delete the schedule.
Program Settings
- Script
- Clone Program
Reports
- Results
You can access all your upcoming schedules from the Dashboard by clicking on View Programs on the left side menu and selecting Upcoming Schedules.
Please contact us at support@echo19.com if you have any questions.
